
Updated for Blender Version: 3.1
Get to the Point
- Click the mesh to select it.
- Press TAB to enter edit mode, then turn on Edge Select

- Shift-Click to select seam edges
- Press Ctrl + E and select “Mark Seam”
- Press A to select the full mesh, then press U to bring up the Unwrap menu, then select “Unwrap”
In a 3D workflow, creating a UV map of a mesh is a critical step before texturing. A UV map is a flattened version of a mesh used for “painting” the mesh in two-dimensional space. Think of it in terms of a globe and a map. A globe is a three-dimensional sphere, but if you use your imagination and slice the globe open and lay it out flat, what do you have? A map. The process of “unwrapping” a mesh is how textures and colors are added to 3D objects.
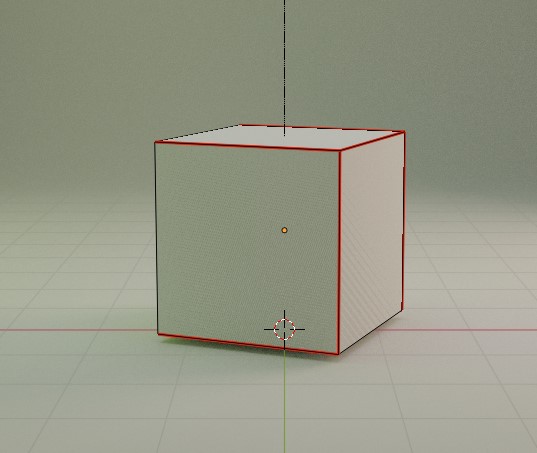
To start, select the object you wish to unwrap. Press the TAB key to enter Edit Mode. One key to unwrapping a mesh is to mark “seams” around the mesh. Seams tell the UV unwrapper where a split in the mesh will occur. These are necessary to allow the mesh to flatten out cleanly. In Edit Mode, select the edge or multiple edges (shift+select) to select the edges where you want to mesh to split apart. When all the necessary seam edges are selected, press CTRL+E to bring up the Edge menu. Select “Mark Seam”. Those edges should now have a red highlight.
Now you are ready to unwrap the mesh. While still in Edit Mode, press the A key to select the entire mesh then press U to bring up the Unwrap menu, then click “Unwrap”. In a separate panel, change the Editor Type (top left of any panel ![]() ) to “UV Editor”. With the unwrapped object selected, you should see the successfully unwrapped mesh in the panel. Sometimes more complicated meshes require some trial-and-error to get an acceptable UV Map. Once the mesh is cleanly unwrapped, click UV at the top of the UV Editor panel and select Export UV Layout. A pop-up box will then allow you to change where the UV image is saved, as well as some of the basic settings about the export image itself, like size and file type. Once exported, the UV map can then be opened in your image editor of choice (Photoshop, GIMP, etc.) and the mesh can then be painted, saved, and added as an Image Texture in Blender.
) to “UV Editor”. With the unwrapped object selected, you should see the successfully unwrapped mesh in the panel. Sometimes more complicated meshes require some trial-and-error to get an acceptable UV Map. Once the mesh is cleanly unwrapped, click UV at the top of the UV Editor panel and select Export UV Layout. A pop-up box will then allow you to change where the UV image is saved, as well as some of the basic settings about the export image itself, like size and file type. Once exported, the UV map can then be opened in your image editor of choice (Photoshop, GIMP, etc.) and the mesh can then be painted, saved, and added as an Image Texture in Blender.
